How to sew
07.Stitching the Side Seam and Hemming
|
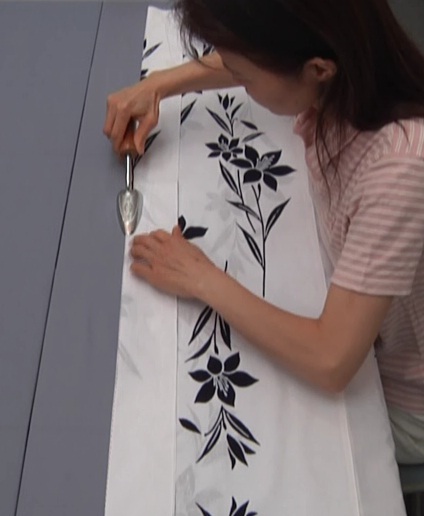
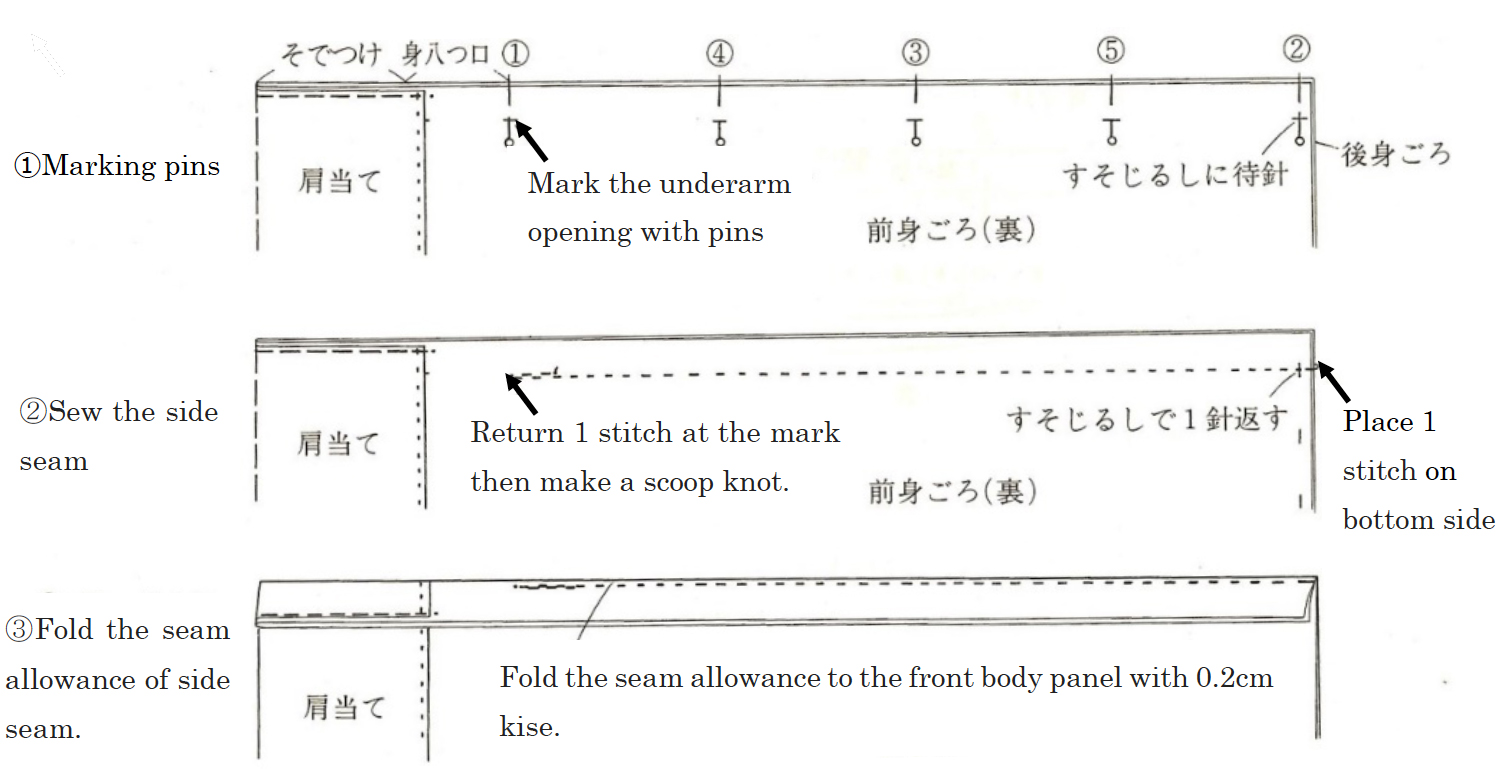
①Place two body panels right sides together and mark the underarm opening, the bottom hem, the center and the middle points with marking pins in this order. ②Sew along the markings. ③Fold the seam allowance to the front body panel with 0.2cm kise. |
|
|
|
↓↓For Men's Yukata↓↓ 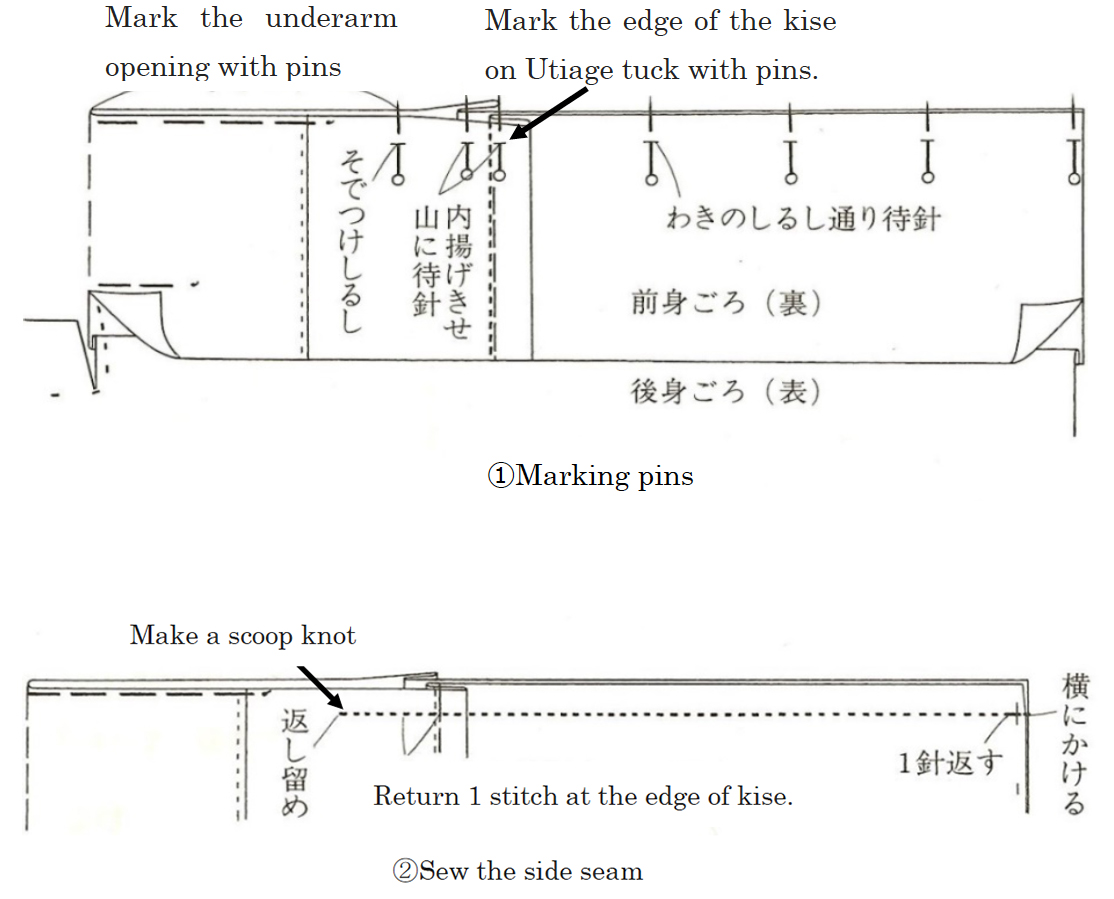
|
|
|
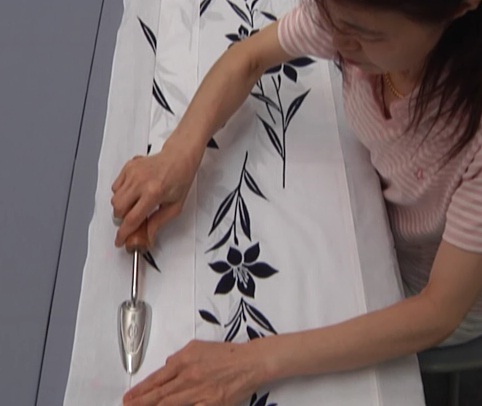
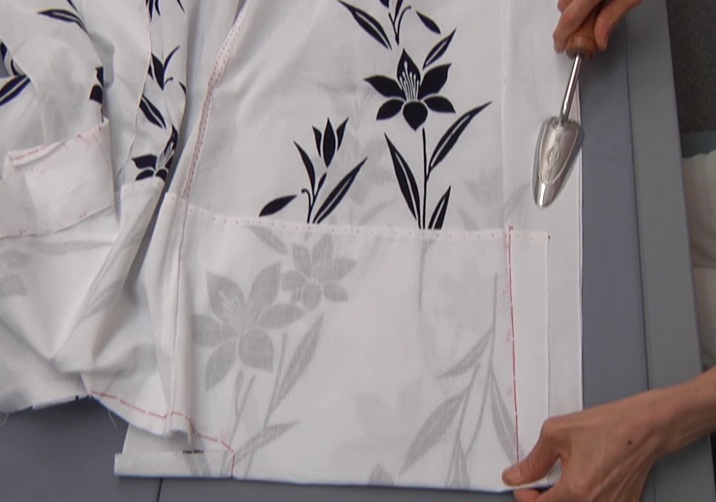
Fold back the seam allowance of the back panel from 4 cm below the underarm opening to the bottom at 0.5 cm from the side seam and apply a trowel. |
|
Sew the seam allowance starting from the front body panel to the back panel 0.3 cm outside the side seam line at 3cm intervals. |

|
|
|
↓↓For Men's Yukata↓↓ 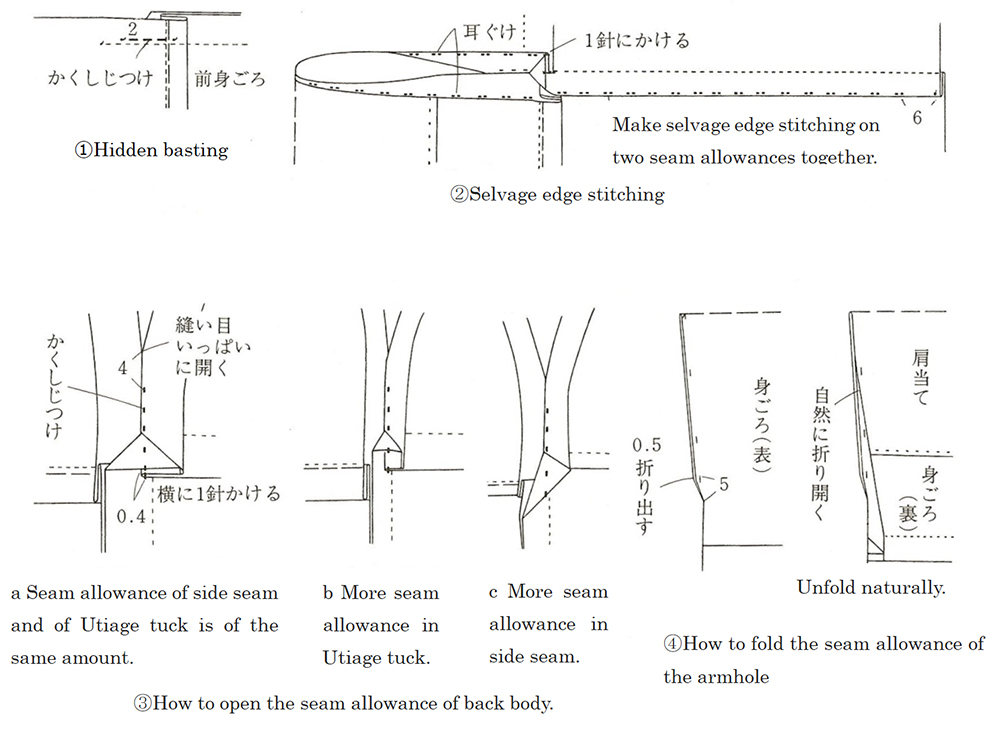
|
|
|
Stretch the selvage of the underarm opening with iron to prevent it from sewing strains. |
|
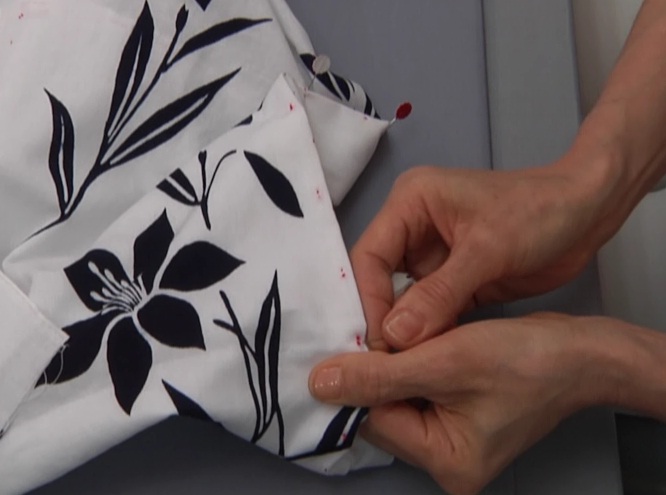
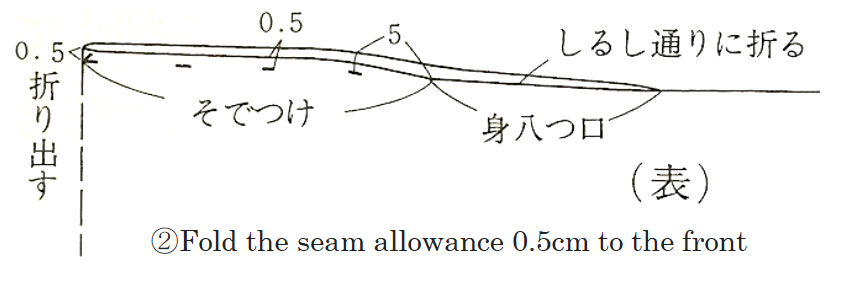
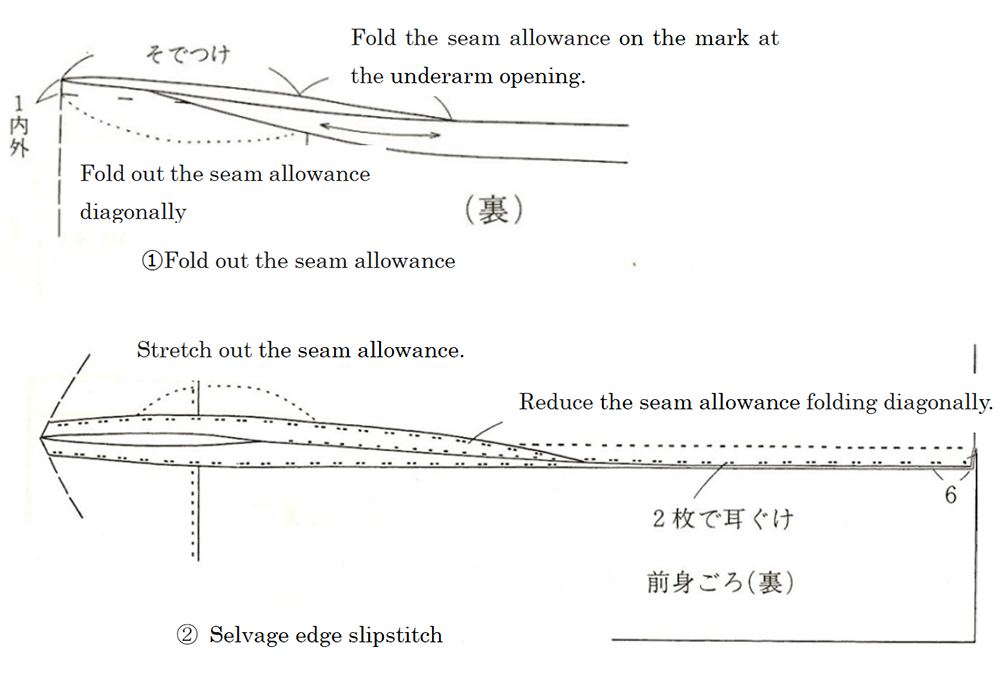
Turn it over and fold the seam allowance of the underarm opening as marked, fold out 0.5 cm of the armhole seam allowance. |
|
|
|
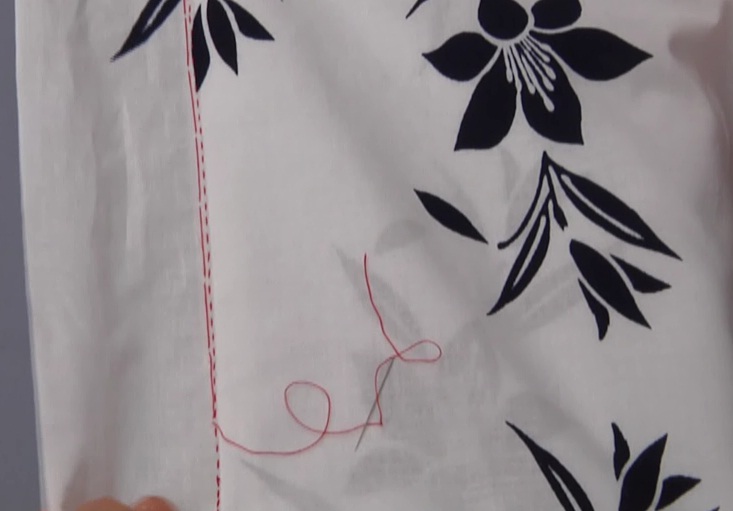
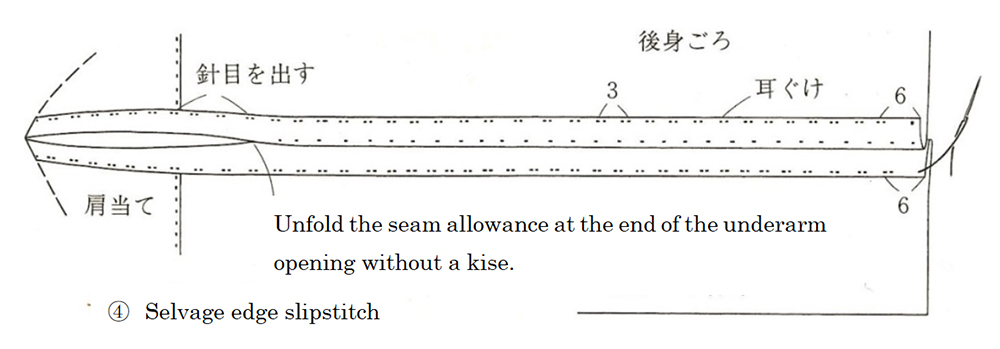
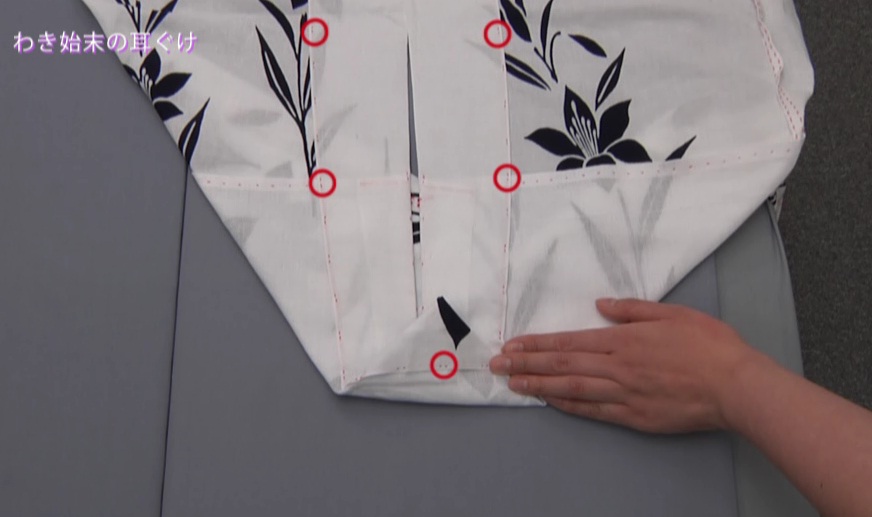
Lay out the side seam allowance flat, mark with pins, and stitch with selvage edge slipstitches* at 3 cm interval on the body panels 0.2 to 0.3 cm inside from the edge. Selvage edge slipstitch* It is a sewing method used for settling the seam allowance on the sides and the Okumi-tsuke. Bring the small needle out 0.2~0.3 cm from the edge of the cloth, stitch 0.2 cm on the wrong side, 0.1 cm on the right side, and 0.2 cm on the wrong side again. Pass through between the folds for the next stitch. Depending on the size of the seam allowance, stitch in 1.5 cm to 3 cm intervals. |
|
|
|
Be sure to stitch one selvage edge slipstitch each at the end of the underarm opening, at the bottom of the shoulder lining, at the connection of sleeve and at the shoulder fold. |
|
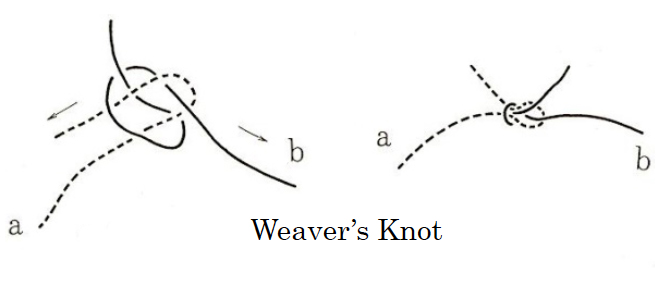
Weaver's Knot
A weaver's knot joins two threads together in a knot and allows you to continue stitching on baste, selvage edge slipstitch and binding. The procedure is as follows. Hold the tip of thread a with the left forefinger and thumb. Cross the end of the thread b with your right hand from underneath a and hold on to it with the left forefinger and thumb. Drape the thread b around the thumb from the top to form a small loop, continue to lead it under the tip of thread b and over the tip of thread a. Bring the tip of the thread a through the loop and hold it. Pull the thread b gently until it is tied. |
|
Reference: Different methods are used depending on the amount of the seam allowance. If the seam allowance is less than 4 cm, open the seam allowance at a natural angle, apply hidden basting on the folding line, and apply selvage edge slipstitches on the body panel where two cloths overlap. |
|