How to sew
14.Attaching the Sleeves and Hemming
|
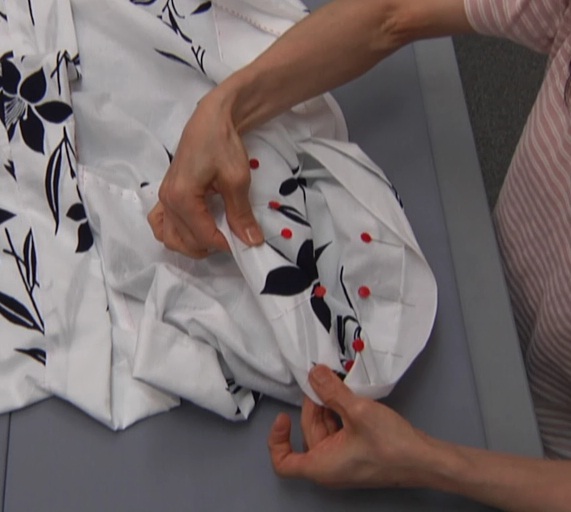
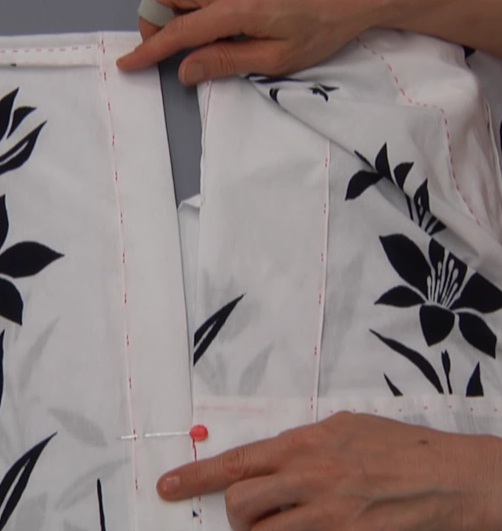
Check the left and right of the sleeves and lay the sleeves and the body panel right sides together. Match the shoulder line of the sleeve and the body panel, then the connection point between sleeve and body, and mark with marking pins from the sleeve side. For men's yukata, sandwich the body panel with the sleeves with 2 strands of thread, and apply a knot on the four layer corner at the armhole line to attach the sleeves. |

|
|
|
↓↓For Men's Yukata↓↓ 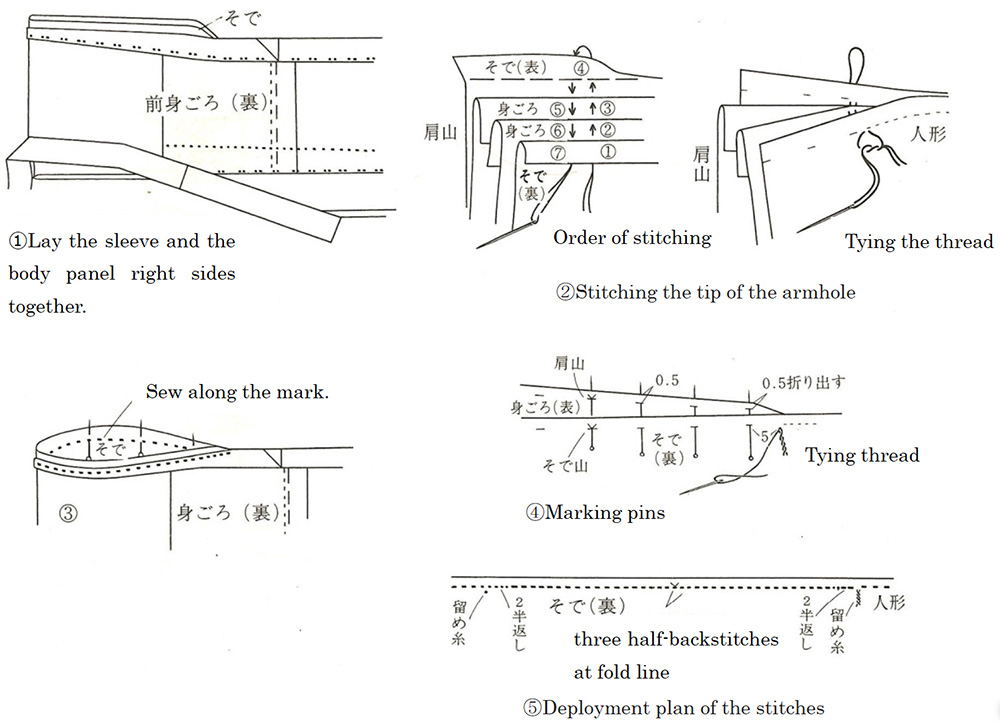
|
|
|
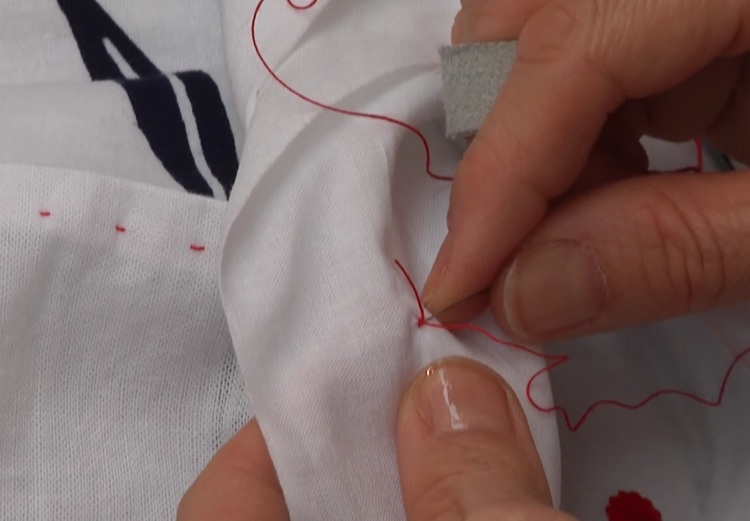
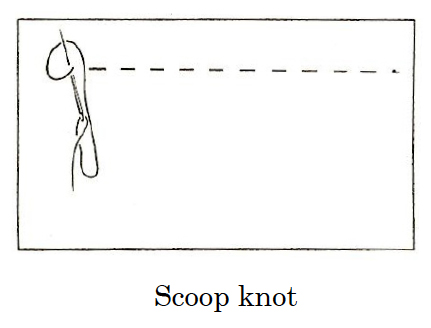
Make a loop knot at starting point of armhole, apply a scoop knot* also and then saw with half-backstitches for 2cm. Scoop knots* Scoop a small diagonal stitch at the beginning or the end of the stitching, make a loop over the needle with the thread and pull the needle through to tighten the knot. The knot is used for steady anchoring of the thread on wrist openings, joints between sleeves and bodices and underarm openings. It is also used for the start of the hand stitching. |
|
|

|
|
|
↓↓For Men's Yukata↓↓ 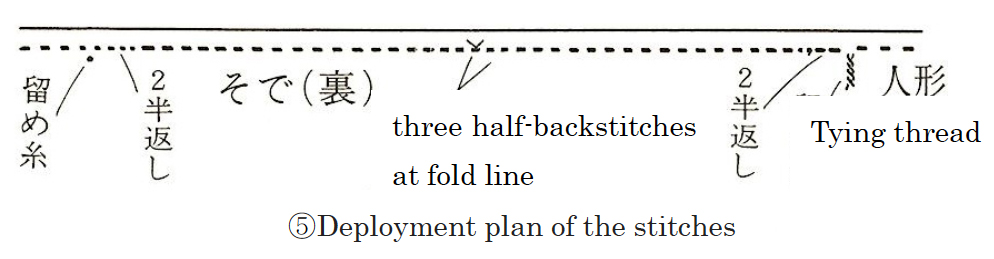
|
|
|
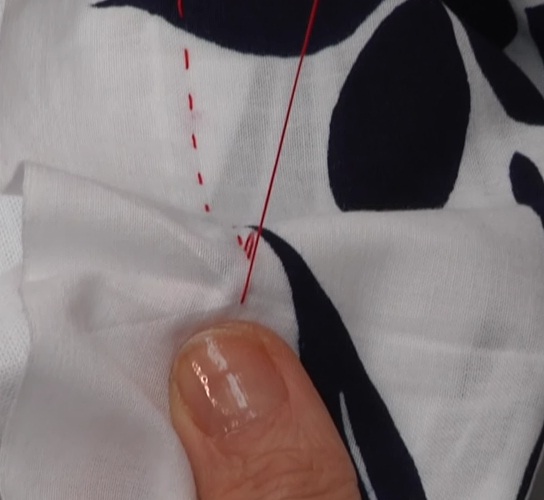
Apply half-backstitches at the fold line of sleeve. Sew the other half as well and secure it with a scoop knot. |
|
そで側にきせをかけて折ります。 |
|
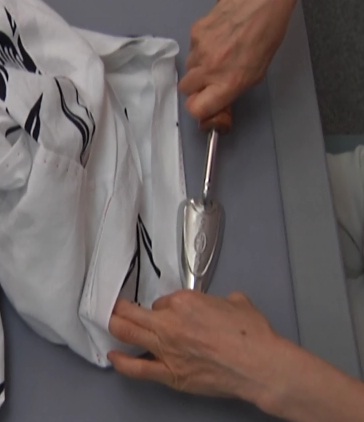
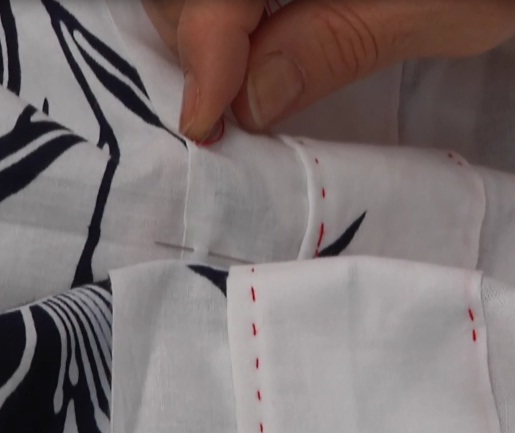
Turn it over to the right side and arrange the edge of kise. Fold the seam allowance of sleeve, Furi. Include the seam allowance under the sleeve to the front side. Apply three selvage edge slipstitches at the fold line of sleeve. |
|
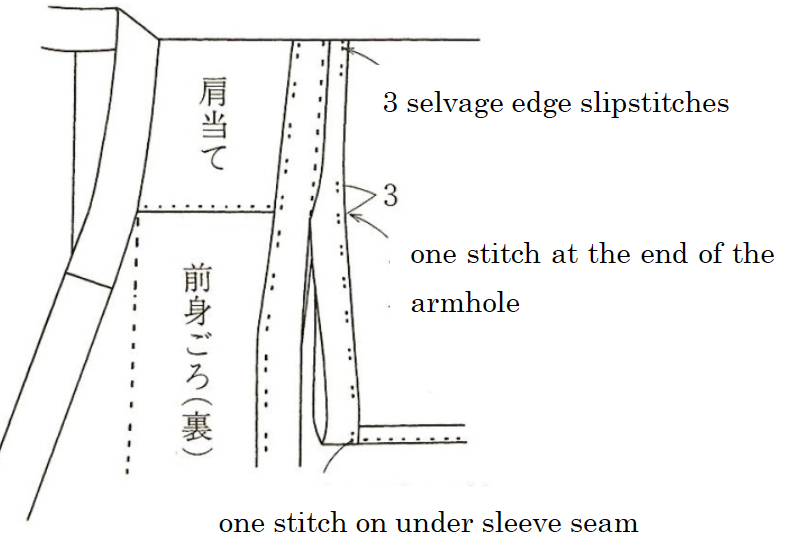
Settle the seam allowance of armhole Apply three selvage edge slipstitches centering round the fold line of sleeve. |
|
|
|
↓↓For Men's Yukata↓↓ 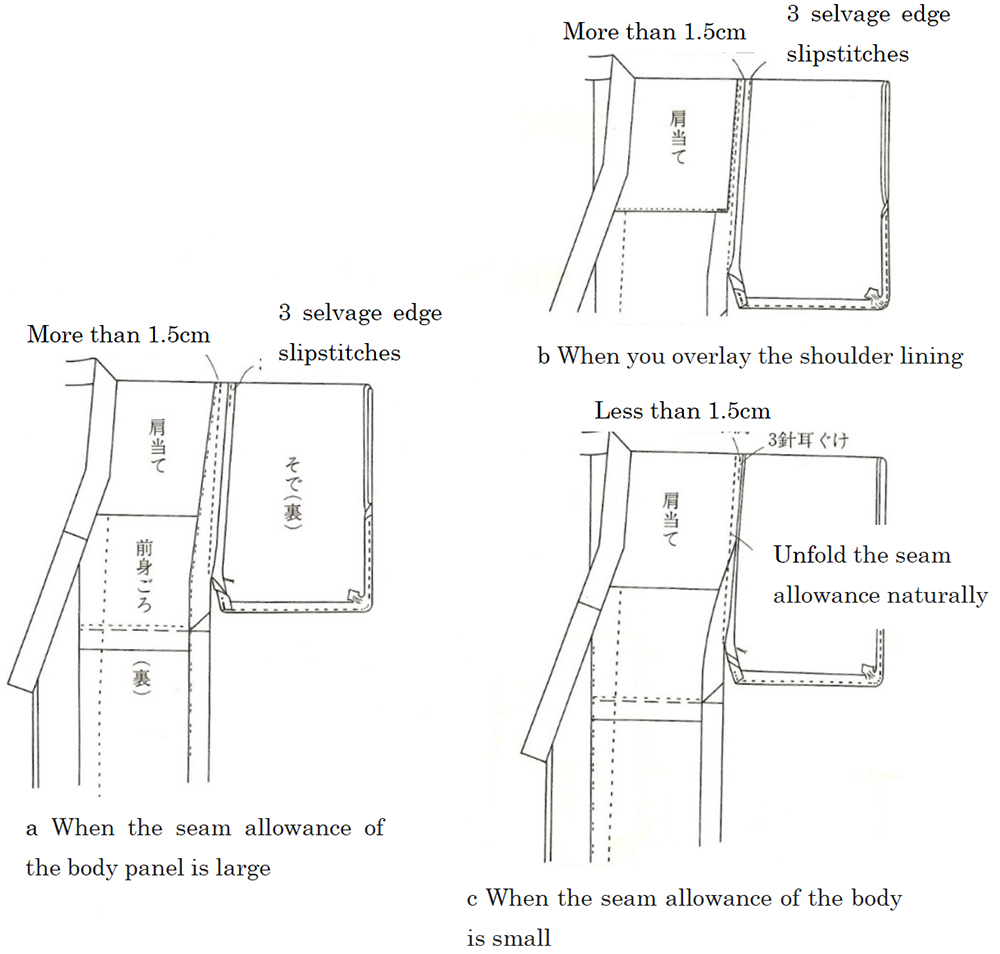
|
|
|
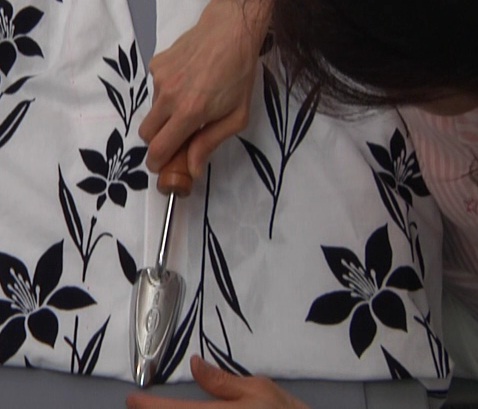
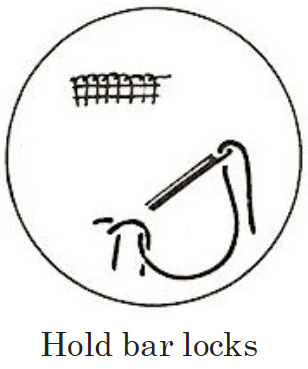
Start selvage edge slipstitches on Furi 3 cm above the edge of armhole, then apply selvage edge slipstitches on the edge of armhole and on the fold line of sleeve bottom kise. For secure anchoring, hold bar locks are often applied at 6 edges of armholes and underarm openings (see figure). |
|