How to sew
11.Attaching the collar
|
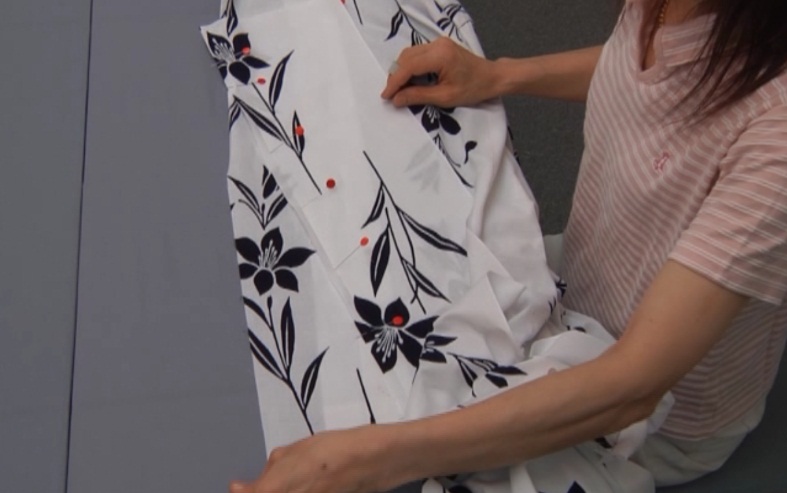
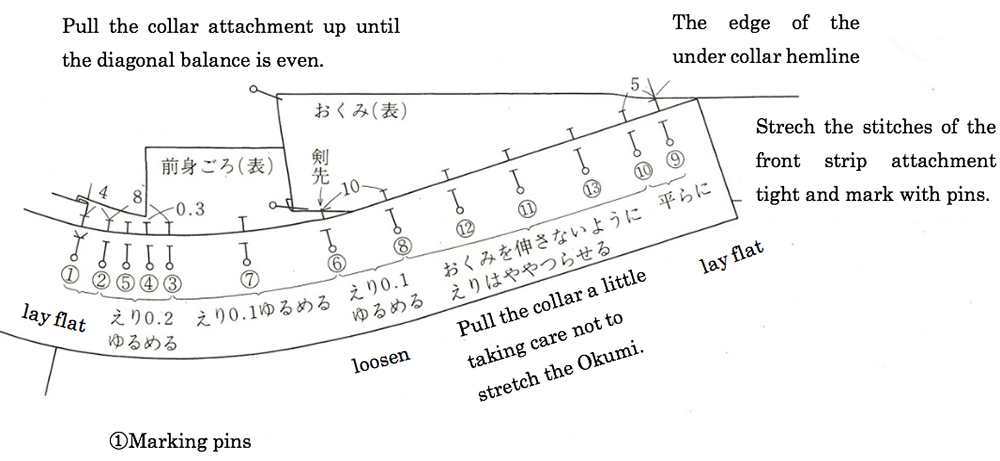
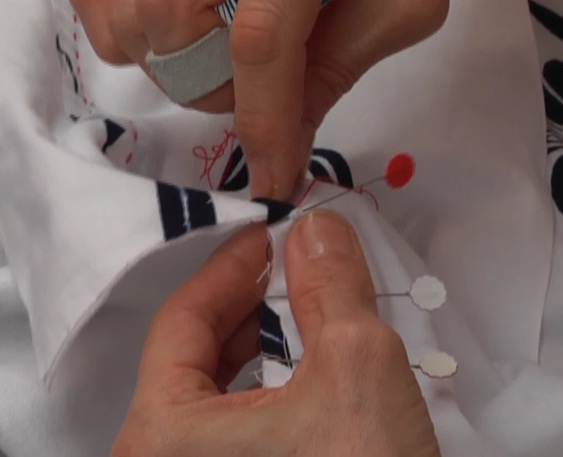
Confirm the match marks on body panel and collar. Lay the collar over the front body right sides together and mark with pins from the center back seam to the neck opening, the hem down the length of the strip, the tip of the strip and the tip of the collar. |
|
|
|
↓↓For Men's Yukata↓↓ 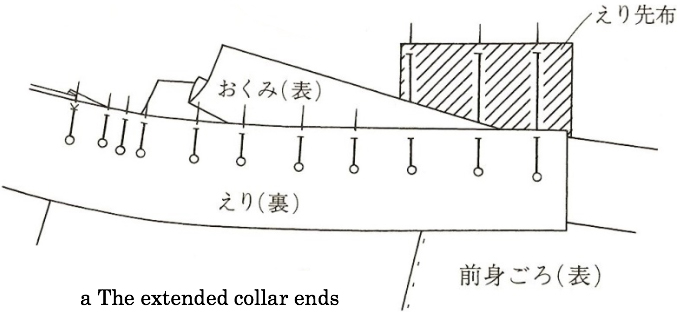
|
|
|
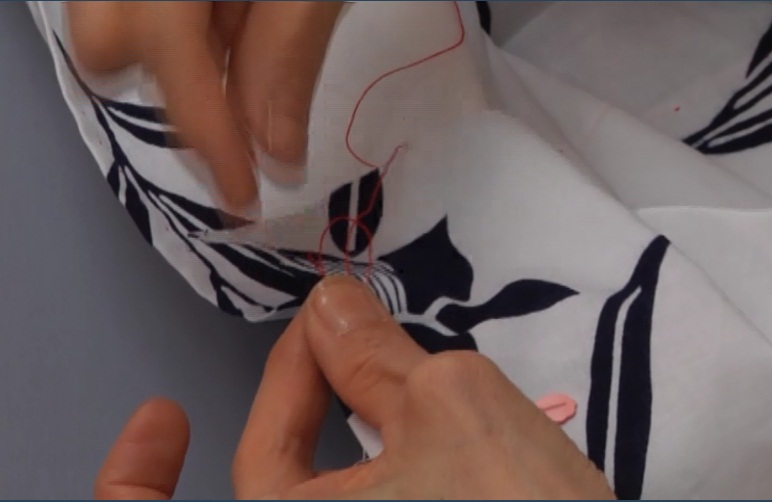
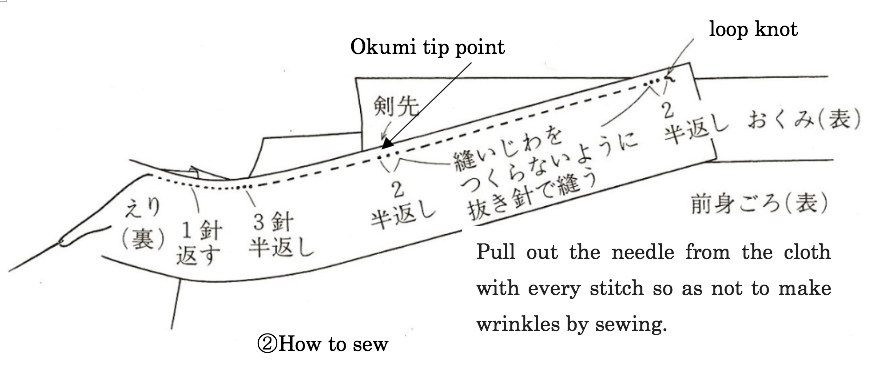
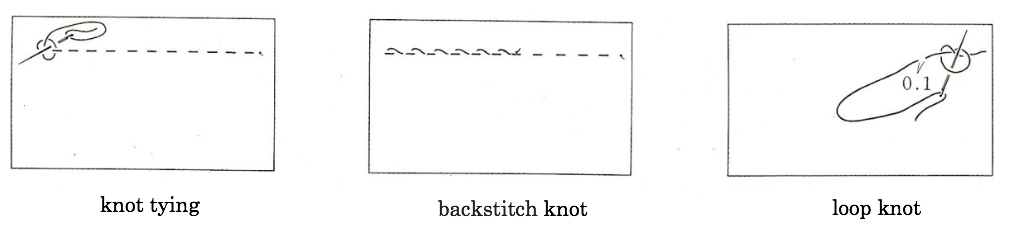
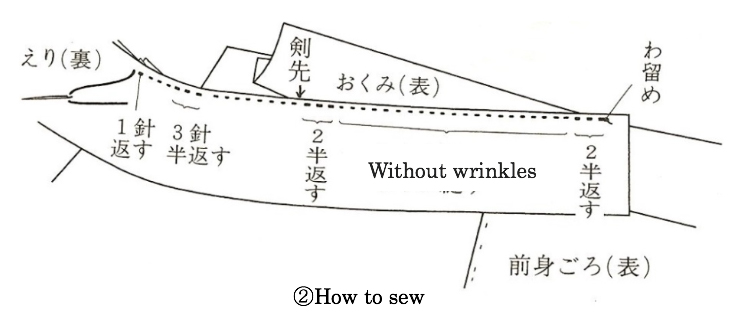
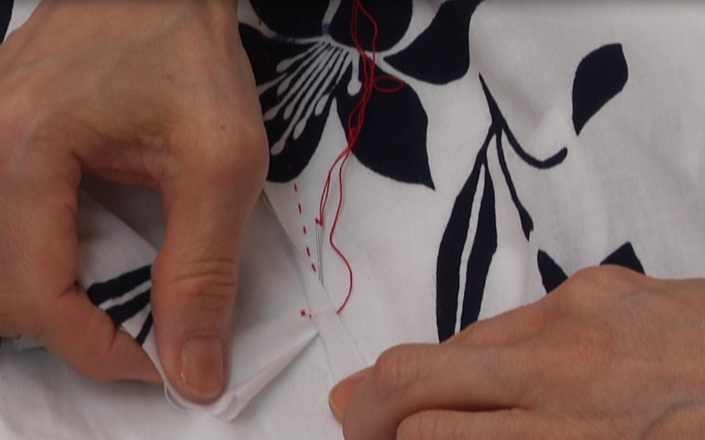
Scoop one stitch with a small stitch at the tip of the collar to apply a loop knot*1. Apply a 2cm half back stitch*2, regular stitches until 2 cm inside the tip of the strip, and then half back stitches again to the tip of the strip. At this time, make sure that the tip of the strip, front strip and the collar are aligned. Loop knot*1 At the beginning of a stitch, scoop a very small stitch, make a loop at the end of the thread, bring the needle through the loop and tighten the thread. This firm and unbulky knot is suitable for starting a stitch at the collar tip and at the end of sleeve attachment. Half back stitch*2 Apply one stitch forward, return half the length, stitch forward twice the length of the last stitch, and return half the distance of the last stitch. It is a method of sewing back and forth repeatedly to reinforce the strength of the stitches. |
|
|
↓↓For Men's Yukata↓↓ 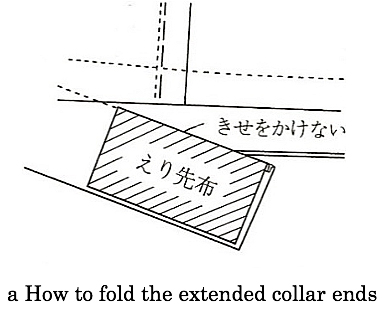
|
||
|
||
|
||
|
||
|
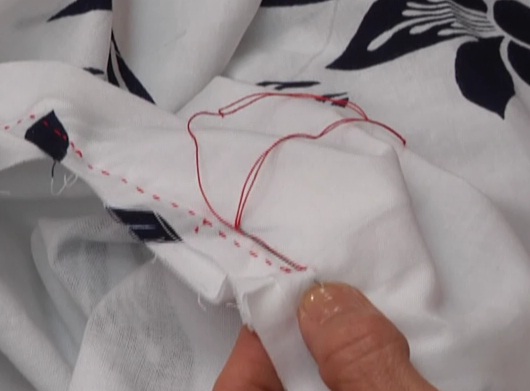
Beyond the tip of the strip, remove the seam allowance of the front panel and attach the collar to the body panel. |
|
Start sewing around the neck opening with 3 small half back stiches and sew around the neck opening with small stiches. |
|
Apply reverse stitch at the center back. Similarly sew on the left side marking with pins. |
|
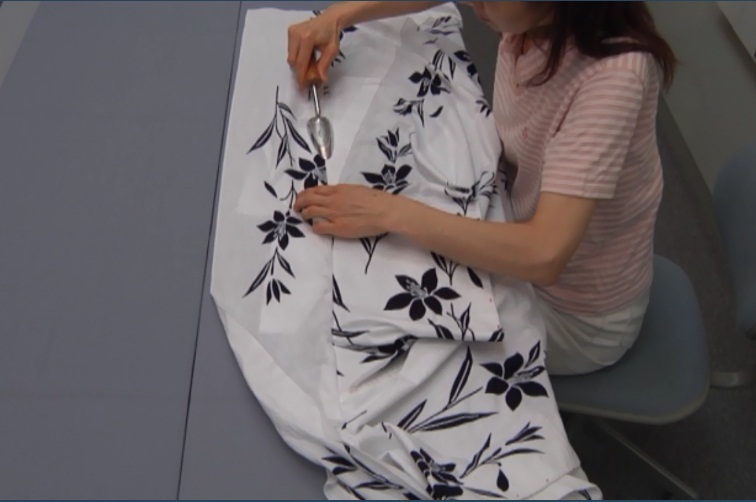
Iron the seams and fold the seam allowance towards the collar. Adjust the edge of the kise from the right side ironing with a trowel. 。 |